
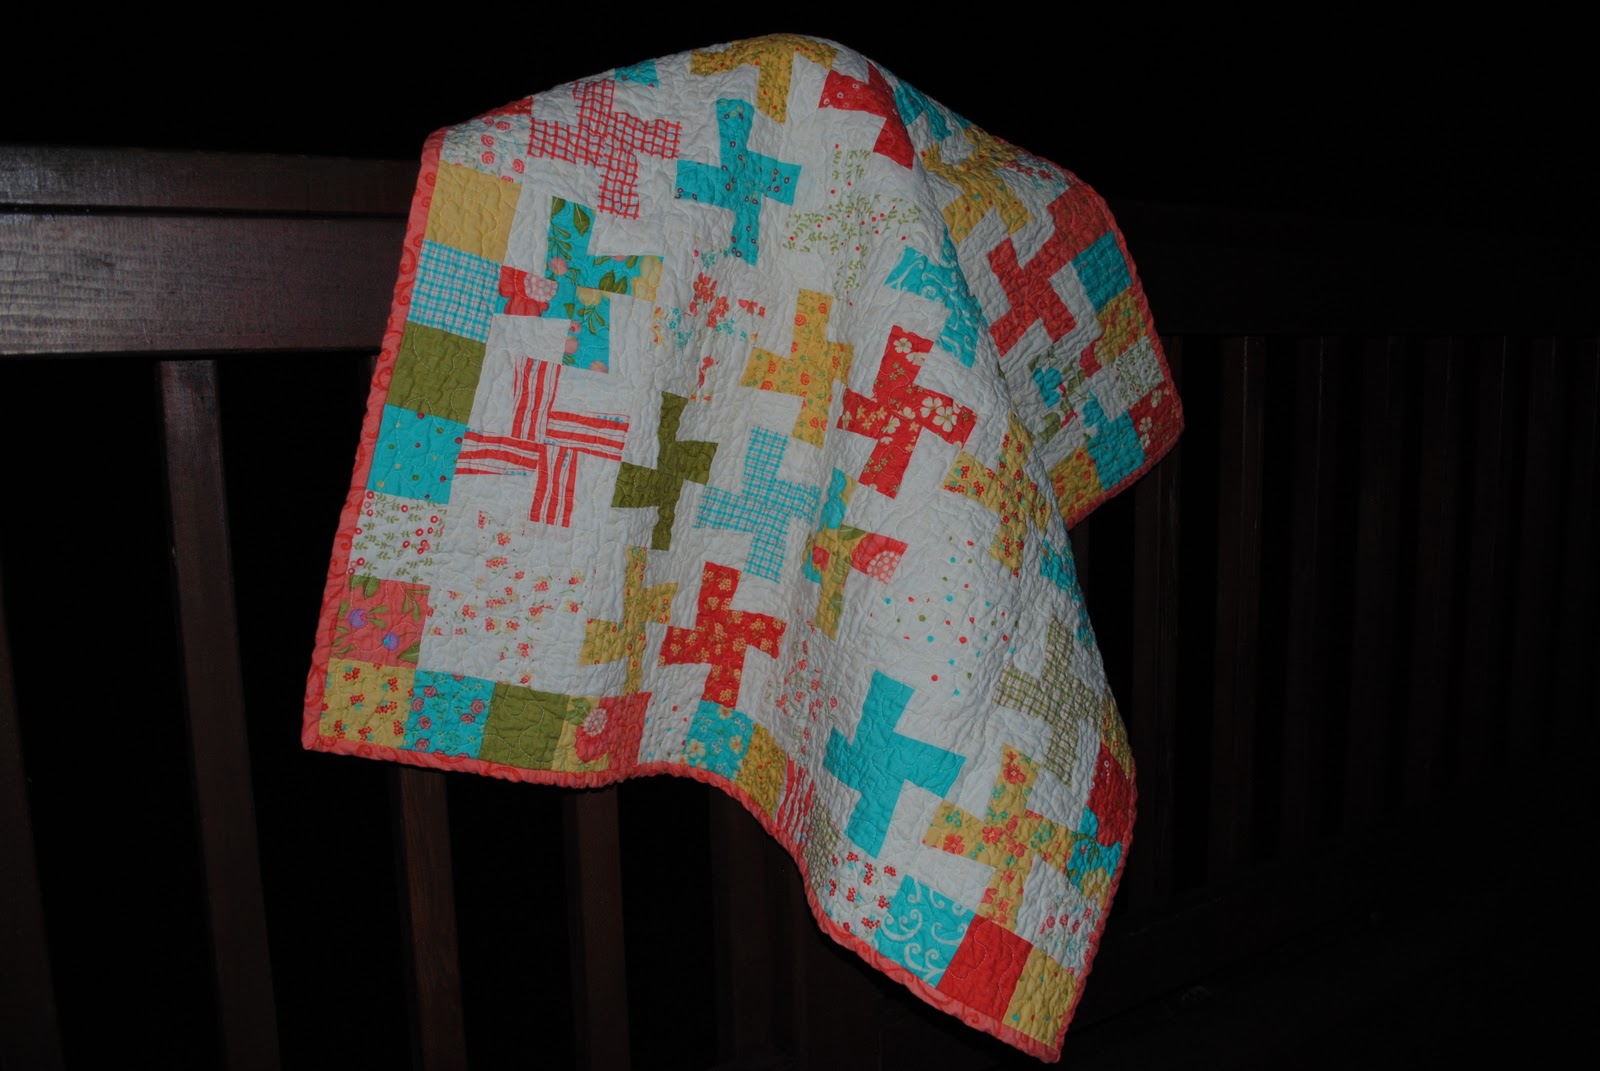
This quilt makes me feel like spring is right around the corner. I used Moda's Lovely layer cake for this quilt and I am in love with the colors. Because I used a layer cake, I now have enough fabric to make another quilt! I have put together a quick, basic tutorial on how to make the whirlygig square which makes up the majority of this baby quilt.
This pattern makes a 32" x 32" Square Baby Quilt
Fabric Requirements
1 Layer Cake
1/2 Yard of Neutral Fabric for the Blocks
1/3 Yard for the Binding
1 Yard Backing
1 Craft Size Warm and White Batting

Choose 36 fabrics to use in your blocks
Cut your squares into 3" strips
Then cut at 3.5" twice leaving you with, 2- 3" x 3.5" rectangles (as shown in the photo)
Save the final 3" squares, you will use them for your border
Cut 6 - 3" strips from your neutral fabric. Turn the fabric sideways, cut off the selvage and cut at 3.5". Continue cutting all of your strips into 3" x 3.5" rectangles until you have a total of 72

With the 3.5" side across the bottom, set your fabric on your mat and cut your rectangle at an angle so that you cut at 1.5" from the bottom right and 1.5" from the top left. See the photo at top to see what I mean. Feel free to stack your fabrics to make your cutting time go by a whole lot faster. MAKE SURE YOUR FABRICS ARE ALL FACING UP WHEN YOU CUT OR YOUR WHIRLS WILL GO IN DIFFERENT DIRECTIONS AND WON'T WORK! I write that in bold because I made know that people have made that mistake and just want to prevent you from doing it too.

Once you have all of your fabrics cut, they should look like this

Each block should now have 4 neutral pieces and 4 fabric pieces

Sew each piece together like this. Leave a tiny overlap as you can see here so that when you press, the seams will match. If you don't leave that overlap, I promise, you will wonder why when you are ironing it out your fabric is totally "off". You want your 1/4" seam to be where the top fabric meets with the bottom

Press towards the darker fabric. There is quite a bit of ironing in this quilt, so get ready

Next sew together like this. You should have 2 of these. Sew them so they look exactly the same (See photo on top)

Press towards the darker fabric

Sew these two together and you will have your completed block

This is what your completed 5.5" square block should look like. Gross, look at my ironing board. 1 down, 35 more to go!!
I did about 6 blocks at a time, I like a little instant gratification so I just can't wait until I have finished sewing and pressing the whole stack 3 times before I see what a completed block looks like!
Size your blocks out and cut them all to the size of the smallest block. I admit, I skipped this part because I set all of my blocks on top of each other and they were really close
Set your blocks out with 6 blocks in a row with a total of 6 rows. At this point in my quilting, I had let my friend borrow my camera so I don't have any photos to show you, but it is pretty self explanatory.
Sew your rows together first, and then, sew those rows to the other rows until you have a beautiful square.
On to the border... Use the 36-3" squares that are left over from your first cut and choose 16 more fabrics that you want to add to the border. Cut those into 3" squares. You will need 2 rows of 12 and 2 rows of 14. Set out your colors how you like them and sew them together. (Hopefully all of your blocks are cut at 5.5" squares)
Match up your seams as you go, first sew the shorter border pieces on, press, and then at the longer ones on the top and bottom and press.
Baste, quilt, and bind....
By the way... I hand sewed the back of this on... Yay me!!! It took FOREVER but I can now see that it is worth it. All of my quilts will be done this way now, I like being proud of my quilts and machine sewn bindings don't even come close to hand sewn ones. Seriously though... It took me probably 6 hours to do. Hopefully, now that I know what I am doing, it will go faster.
By the way... I hand sewed the back of this on... Yay me!!! It took FOREVER but I can now see that it is worth it. All of my quilts will be done this way now, I like being proud of my quilts and machine sewn bindings don't even come close to hand sewn ones. Seriously though... It took me probably 6 hours to do. Hopefully, now that I know what I am doing, it will go faster.

I just wish I had a baby to give this to. Who knows, you may see it gifted at the next shower that you go to

I am IN LOVE with this backing, for some reason it makes me feel like I am still living at Sunny Hill Berry Farm

As a reminder, please email me with questions... wuorid@gmail.com I would be delighted to help you out. I will meet you at the fabric store to help you pick out fabrics, answer any questions, or even just email you back with a little tmi "Something I get from my mom". My husband always looks at me like, "Who Cares!!!" when I share my life story with people. Come on readers, email me, I'm dying to ramble on about something totally not important.
Good luck and have a blast!!! Be careful, quilting is addicting!!!
Darla
LOL! You sound as pathetic as me! Why don't you just give me your phone number on FB or something and you can call me and we can have a contest to see who can ramble on about the most inimportant thing for the longest. ;) haha!
ReplyDeleteDude. The post was labeled a tutorial...she rambled because she was teaching. Be nice. It would be hard to ramble like you Ronda your rambling is legendary...And very entertaining..
ReplyDeleteOkay, math isn't my thing.
ReplyDeleteThe 10" square is meant to be cut into 3 strips. Is that 3 strips of 3"+3.5+3.5" or some other combination? Thanks. This is my first real project and I need as much hand holding as I can get!
uh, never mind. I read it a few more times. It finally penetrated my thick skull. Thanks!
ReplyDeleteI used your tutorial and love the end result! I posted pictures on my blog - Thank you!
ReplyDeletehttp://kploquilts.blogspot.com/2011/08/baby-quilt-for-ashton.html